Beelink Mini S – Wazuh Server
This is the third article in the series for the inexpensive Beelink Mini S computer. In the past two articles we focused on performance with Ubuntu and Windows, however in this article I’ll be installing Ubuntu, and running Wazuh for my home environment.
Wazuh is an open source security monitoring solution that provides unified security visibility across cloud, on-premise, and hybrid environments. It offers a wide range of features including log management, file integrity monitoring, intrusion detection, policy and compliance monitoring, rootkit detection, real-time threat detection, and vulnerability assessment.
I have been using Wazuh in different environments, however this time I wanted to see if I can use the Beelink Mini S to run Wazuh in my home lab. I’ll also be running it full time, and want to know how reliable the system is, and how long it lasts running it 24/7/365.
Installation of Ubuntu
I downloaded the latest release (22.04.2) of Ubuntu Server LTS directly from ubuntu.com. I flashed it to a spare 8GB USB stick, then booted the computer, and selected the USB boot device. I ran through the Ubuntu setup, setup a static IP, selected the hard drive, and unchecked “set up this disk as an LVM group”, wiped the drive, and selected to enable SSH. The install went quick, and completed without issue.
Install all Ubuntu Updates
Run the below commands to update:
sudo apt update
sudo apt upgrade -y
Set Timezone
Check your timezone with the below command, and if it needs adjustment, follow the steps below.
timedatectl
Run the below command to list available timezones, and find the one closest to you.
timedatectl list-timezones
Edit and run the below command to change your timezone. My region is “America/Edmonton”
timedatectl set-timezone America/Edmonton
Installation of Wazuh Server
Login to the server, and run the below command to start the Wazuh installation.
curl -sO https://packages.wazuh.com/4.4/wazuh-install.sh && sudo bash ./wazuh-install.sh -a
For me the Wazuh installation took 4 minutes. Make note of the credentials to access the dashboard at the end of the installation.
Access the Wazuh Dashboard
From your web browser, enter the IP address you set during the Ubuntu Server setup. You will receive a message about using a self signed certificate, which you can accept to proceed to the Wazuh login page. Login with the credentials that were provided during the Wazuh installation, and the dashboard will take a moment to setup for the first time.
Voila! You can now proceed to installing the agent on all your systems.
Installing an Agent on a System
Install the agent on all your systems you would like monitored. Select add agent from the dashboard, as per the photo below.
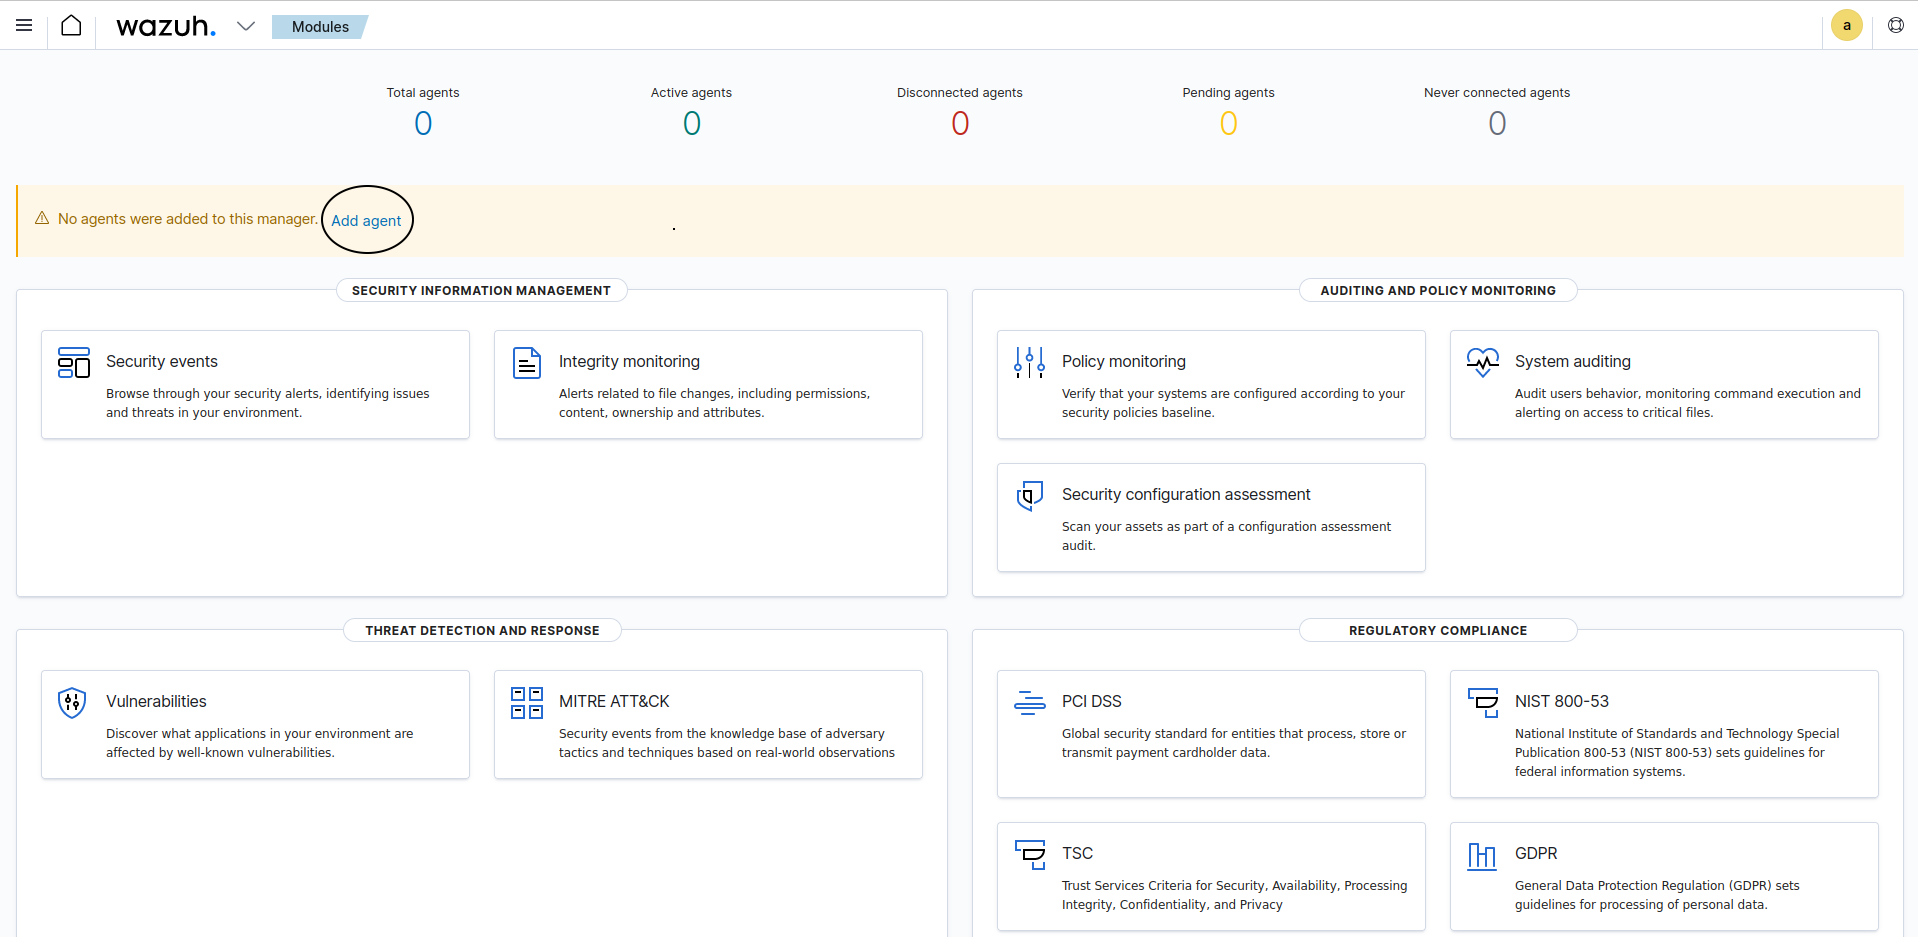
Follow steps 1 through 7 to install the agent on your first system. Within a few moments of installing the agent on a system, you will see it appear on the dashboard. You may have to refresh the browser page.
That’s it! Have fun exploring Wazuh. This is the basic setup of Wazuh Server, and can be customized further, which is not in the scope of this article.
I’ll follow up in a future article about the reliability of the Beelink Mini S, as I’ll be running it 24/7/365 in this configuration.
Check out the Beelink Mini-S on Amazon with my affiliate link: Here